Adding TensorFlow.js WASM Backend in Create React App
Web Assembly (WASM) is taking the web world by storm. It’s increasing speed and efficiency for complex web actions, and it’s a perfect application for advanced processes like TensorFlow.js.

Before TensorFlow officially supported WASM, we had to write our own WASM code to read models directly in the browser, which gave us jaw-dropping results but took profound effort and time.

If you’re looking to bring AI/ML to your website or mobile app, let’s chat.
As of this writing, TensorFlow.js has a semi-functional WASM backend for running models in the browser, and you can add it as an option to your TensorFlow websites. Let’s take a tour of what you’ll have to do to get this alpha feature into your Create React App applications.
Why Even WASM?
For machines with little or no GPU, the WASM backend creates a significant speed boost over traditional JavaScript and on very lite models the WASM backend is comparable to WebGL with better numerical stability.

Let’s learn how to add it to a Create React App website!
TECHNICAL DEBT WARNING: CRA + WASM = ???

As of this writing, there’s currently no clean way (that I’ve found) to connect WASM with Create React App. I can do it with straight up webpack, but CRA has a complex pipeline that causes lots of issues. I’ve tried react-app-rewired +file-loader, wasm-loader, and a couple of wild tricks like copy-webpack-plugin. I can say I got close several times, but according to Create React App’s GitHub, it’s still not been done.
For this reason, I’ll be skipping the complexity entirely, and going with a non-ejected, simple, albeit slightly hacky solution that works.
1— Add TensorFlow.js WASM Backend
I assume your project already has TensorFlow.js, but just to be sure, I’ve included it in the install directions for TFJS and TFJS Backend WASM below.
# NPM
npm i @tensorflow/tfjs @tensorflow/tfjs-backend-wasm --save
# Yarn
yarn add @tensorflow/tfjs @tensorflow/tfjs-backend-wasm
Here’s the dirty part:

We need the WASM file from tfjs-backend-wasm but of all the dirty solutions for Create React App, this is the cleanest I could come up with. We’re going to copy the file to the public folder. To do this, we’ll add a new script called “wasm” to our package.json file.
This copies the .wasm file from the node package to the public folder.
As you can see, we place this before start and build scripts so we always have the latest file from our local NPM module. As a bonus, the winwasm command is the Windows version. Modify the above to use npx or winwasm depending on your machine’s particulars.
2- Utilize the WASM backend
Now we can tell our TensorFlow.js app to use WASM as the backend in a few lines. We simply set the wasm path to our public .wasm file.
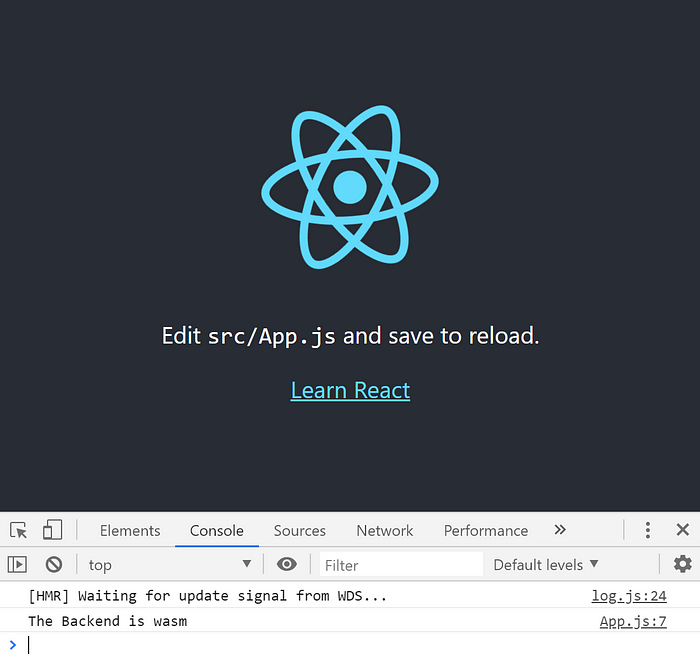
When we start our react app, we see our friendly spinning atom, and if we open up the console we see we’re now using a wasm backend!

We’re ready to get our TensorFlow.js Machine Learning on!

Go get em tiger! 🐅
If you’re unfamiliar with AI/ML — here’s a free course to get you started!


Interested in learning how to bring AI and Machine Learning to web with TensorFlow.js?
JavaScript lets you create front-end websites that can leverage the power of AI directly on the browser. Learn from scratch with this book.
Reserve your copy on Amazon now
Gant Laborde is a co-owner and Chief Innovation Officer at Infinite Red, published author, adjunct professor, worldwide public speaker, and mad scientist in training. Clap/follow/tweet or visit him at a conference.
I also help run the FunMachineLearn Twitter account.
Have a minute? Read more!
Blog illustrations by https://icons8.com


