Creating a Trivia App with Ignite — Part II

UPDATE 1/09/2024: This has now been updated to be compatible with Ignite Exp[ress]o (9.3.1).
In Part I, we setup a data model for our Trivia App based on Open Trivia DB and built using Ignite. In Part II, we’re going to hook up some screens to complete the data lifecycle!
First things first, we need a screen. Let’s generate one:
npx ignite-cli g screen QuestionNow we have a blank screen called QuestionScreen.tsx. Open app/screens/index.ts and remove and WelcomeScreen.
Let’s remove the current welcome screen that comes with Ignite.
- Open
app/screens/index.tsand removeWelcomeScreen. - Open
app/navigators/AppNavigator.tsxto removeWelcomescreen inAppStackParamListandAppStackso they look like this:
export type AppStackParamList = {
  Question: undefined
  // IGNITE_GENERATOR_ANCHOR_APP_STACK_PARAM_LIST
}
const AppStack = observer(function AppStack() {
return (
<Stack.Navigator screenOptions={{ headerShown: false, navigationBarColor: colors.background }}>
<Stack.Screen name="Question" component={Screens.QuestionScreen} />
{/* IGNITE_GENERATOR_ANCHOR_APP_STACK_SCREENS */}
</Stack.Navigator>
)
})Before we run the app, let’s fix up a few things:
- Add an entry in
en.tswithin thei18nfolder for this screen’s text translations:
questionScreen: {
    title: "Questions",
}- In
app/theme/colors.tsadddarkPlum: "#20162D"to thepalette. Then updatecolorsto usebackground: palette.darkPlumandtext: palette.neutral100 - Add our title to
QuestionsScreen:
When we run the app, it looks like this:

Adding Data
Our screen looks a little barren, so let’s add some data!
First, we’ll add our QuestionStore to the app/models/RootStore.ts.
Now, we can use our questionStore in our screen.
import { useStores } from "../models"

...

export const QuestionScreen: FC<QuestionScreenProps> = observer(
  function QuestionScreen() {

    // Pull in one of our MST stores
    const { questionStore } = useStores()

...
Our generated screen comes with the observer wrapper around the component function, to tell the screen to listen for MST updates, and then we use the useStores hook to bring our store into the body of our component. You can read more about observer and creating a useStores hook in the mobx-react documentation.
Making a List
Now let’s pull our data out of the store and make a list!
- Lets install
lodash.shuffle(and Typescript types)
yarn add lodash.shuffle @types/lodash.shuffle- Add a view called
allAnswerstoquestion.tsthat makes an array containing all of the answers (incorrect and correct) and then shuffles them usinglodash.shuffle. We use this in renderItem to display the answer options in random order.
Let’s updateQuestionScreen.tsx to fetch questions and render the data from questionStore in a ListView. ListView is a component included in Ignite that uses FlashList behind the scenes for speedy rendering of large lists.
We’ll also move our header into ListView’s ListHeaderComponent so it scrolls with the rest of the questions.
Here is what our screen looks like now:
A few things to note here:
- When we pull-to-refresh, we load a new set of questions. A
useEffect()hook is added to fetch questions initially. - We added an
extraDataprop to ourListView. This a common gotcha in MST. In order for theListViewto know to update when we get new data in our list, we have to explicitly specify a value that we know will change (in our case, the text of the first question). - We set
statusBarStyle="light"onScreenso the status bar is visible against the dark background - We added a little
decodeHtml.tshelper toutilsto decode the question after receiving it from the API, since it comes back still HTML encoded. Here is the code:
- We also created the
QuestionComponentthen wrapped it with anobserverfor theObservedQuestion. This allows us to avoid unneeded re-renders of theQuestionComponentand only re-rendering when theobserverdetects a change to the data provided to it.
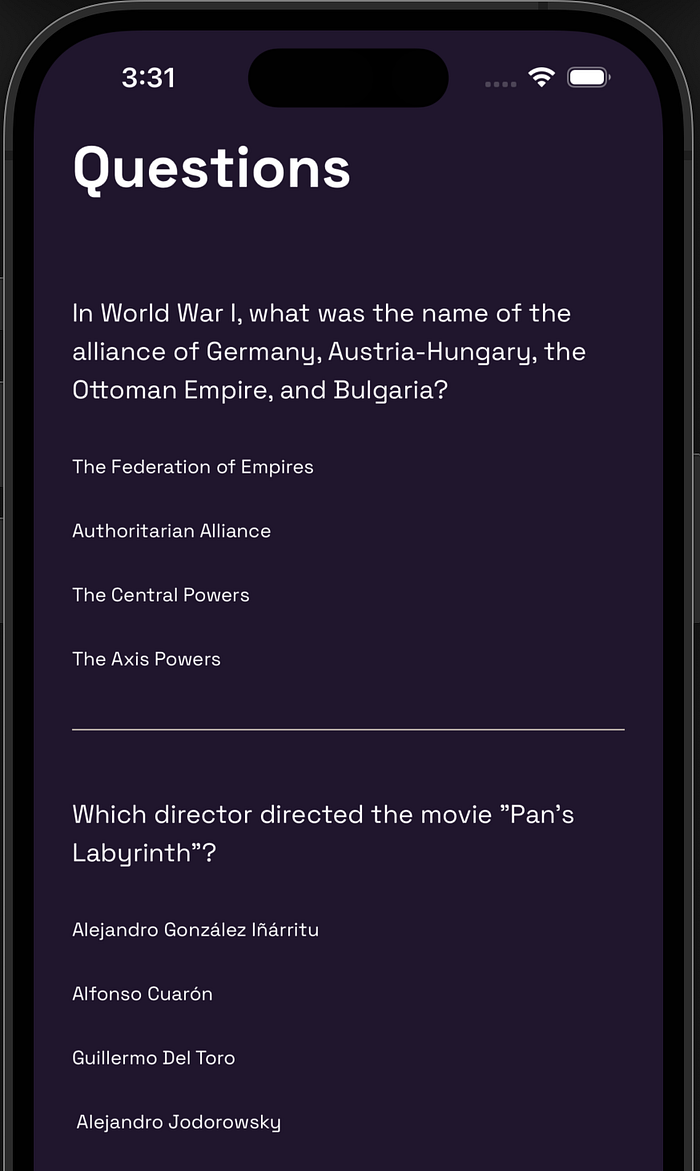
When we run the app, the screen looks like this:
Making It Interactive
Great! We have a list of questions now. But trivia isn’t very fun if you can’t answer the questions and see if you were right…
So let’s make our screen interactive.
First, we’re going to add a few things to our Question model:
- A new property called
guess, which is an optional string. - We can’t change the value of properties using
self.except from within the model itself, so in order to changeguessfrom our screen, we need a setter action that we’ll callsetGuess. - A computed value (view) called
isCorrectthat checks theguessagainstcorrectAnswer. As long as neither of those values change, the return value ofisCorrectwill be cached and doesn’t need to be calculated every time it’s called.
Now we’re finally ready to make our questions interactive:
- Install
react-native-radio-buttons-group
yarn add react-native-radio-buttons-groupHere’s what we did:
- We brought in react-native-radio-buttons-group to add a radio button selector. The options that we pass to it are from the view we made earlier:
questions.allAnswers - When each radio button item is pressed, we set
guesson that question to the text of the selected answer - When the “Check Answer” button is pressed, we call our
isCorrectcomputed value, and put up an alert telling the user whether they got it right or not.
Here’s our app in action!
🎉 And there you have it! A basic Trivia app built with Ignite, using MobX-State-Tree and TypeScript.
You can view the complete source code here: https://github.com/Jpoliachik/ignite-trivia
Stay tuned to Red Shift for more React Native tips, tricks, and tutorials!

Robin Heinze is a senior software engineer building React Native apps at Infinite Red, a mobile/web app design and development agency. Follow her on Twitter or Github.