React native, Node.js and Push Notifications

We’re happy to announce our first guest post. Wesley is a software engineer from The Netherlands and has been doing some very interesting work in conjunction with Ignite, one of our most popular open source projects. Enjoy!
— Jamon Holmgren, COO, Infinite Red
Today I decided to implement a support chat in one of my React Native apps which meant push notifications would be involved. After looking at possible ways to implement this, I quickly noticed how long and difficult this endeavor was going to be. This was going to take time. I’d have to… read. And pay attention. So I decided to document my process, hoping it would help others, or even future me (if you’re reading this.. Hey handsome, did you lose weight?)
Enough of this whole “justifying my motivations”, right? Let’s go!
Before we begin
My setup consists of an Ignite-based React Native app, that has been altered greatly and a Node.js API server using sails.js and wetland ORM hosted on heroku. Even if your server is not Node.js-based, or doesn’t use sails.js, this article might still be useful as it explains concepts relevant to push notifications.
The app I’m working on is for Android and iOS. This article will document my findings on implementing both. The goal of this is to quickly get push notifications working, so I can get my chat to work. This means I won’t go into detail about everything push notifications in this article, but I might in the future. If you’re looking for a step-by-step tutorial, this is not it. If you’re looking for madness with some information in it, proceed :)
What I won’t be using
I’ll write about how I ended up setting all of this up soon. But first, I want to explain what I ended up not using, and explain why. It’s important to me. Just… Okay?
Urban Airship
This seems to be an awesome service, and a mature one. However, it’s a bit too expensive for what I’m working on.
Amazon SNS
To set the tone for this part of the article, I composed this gorgeous, super realistic (fake) page from the AWS documentation.
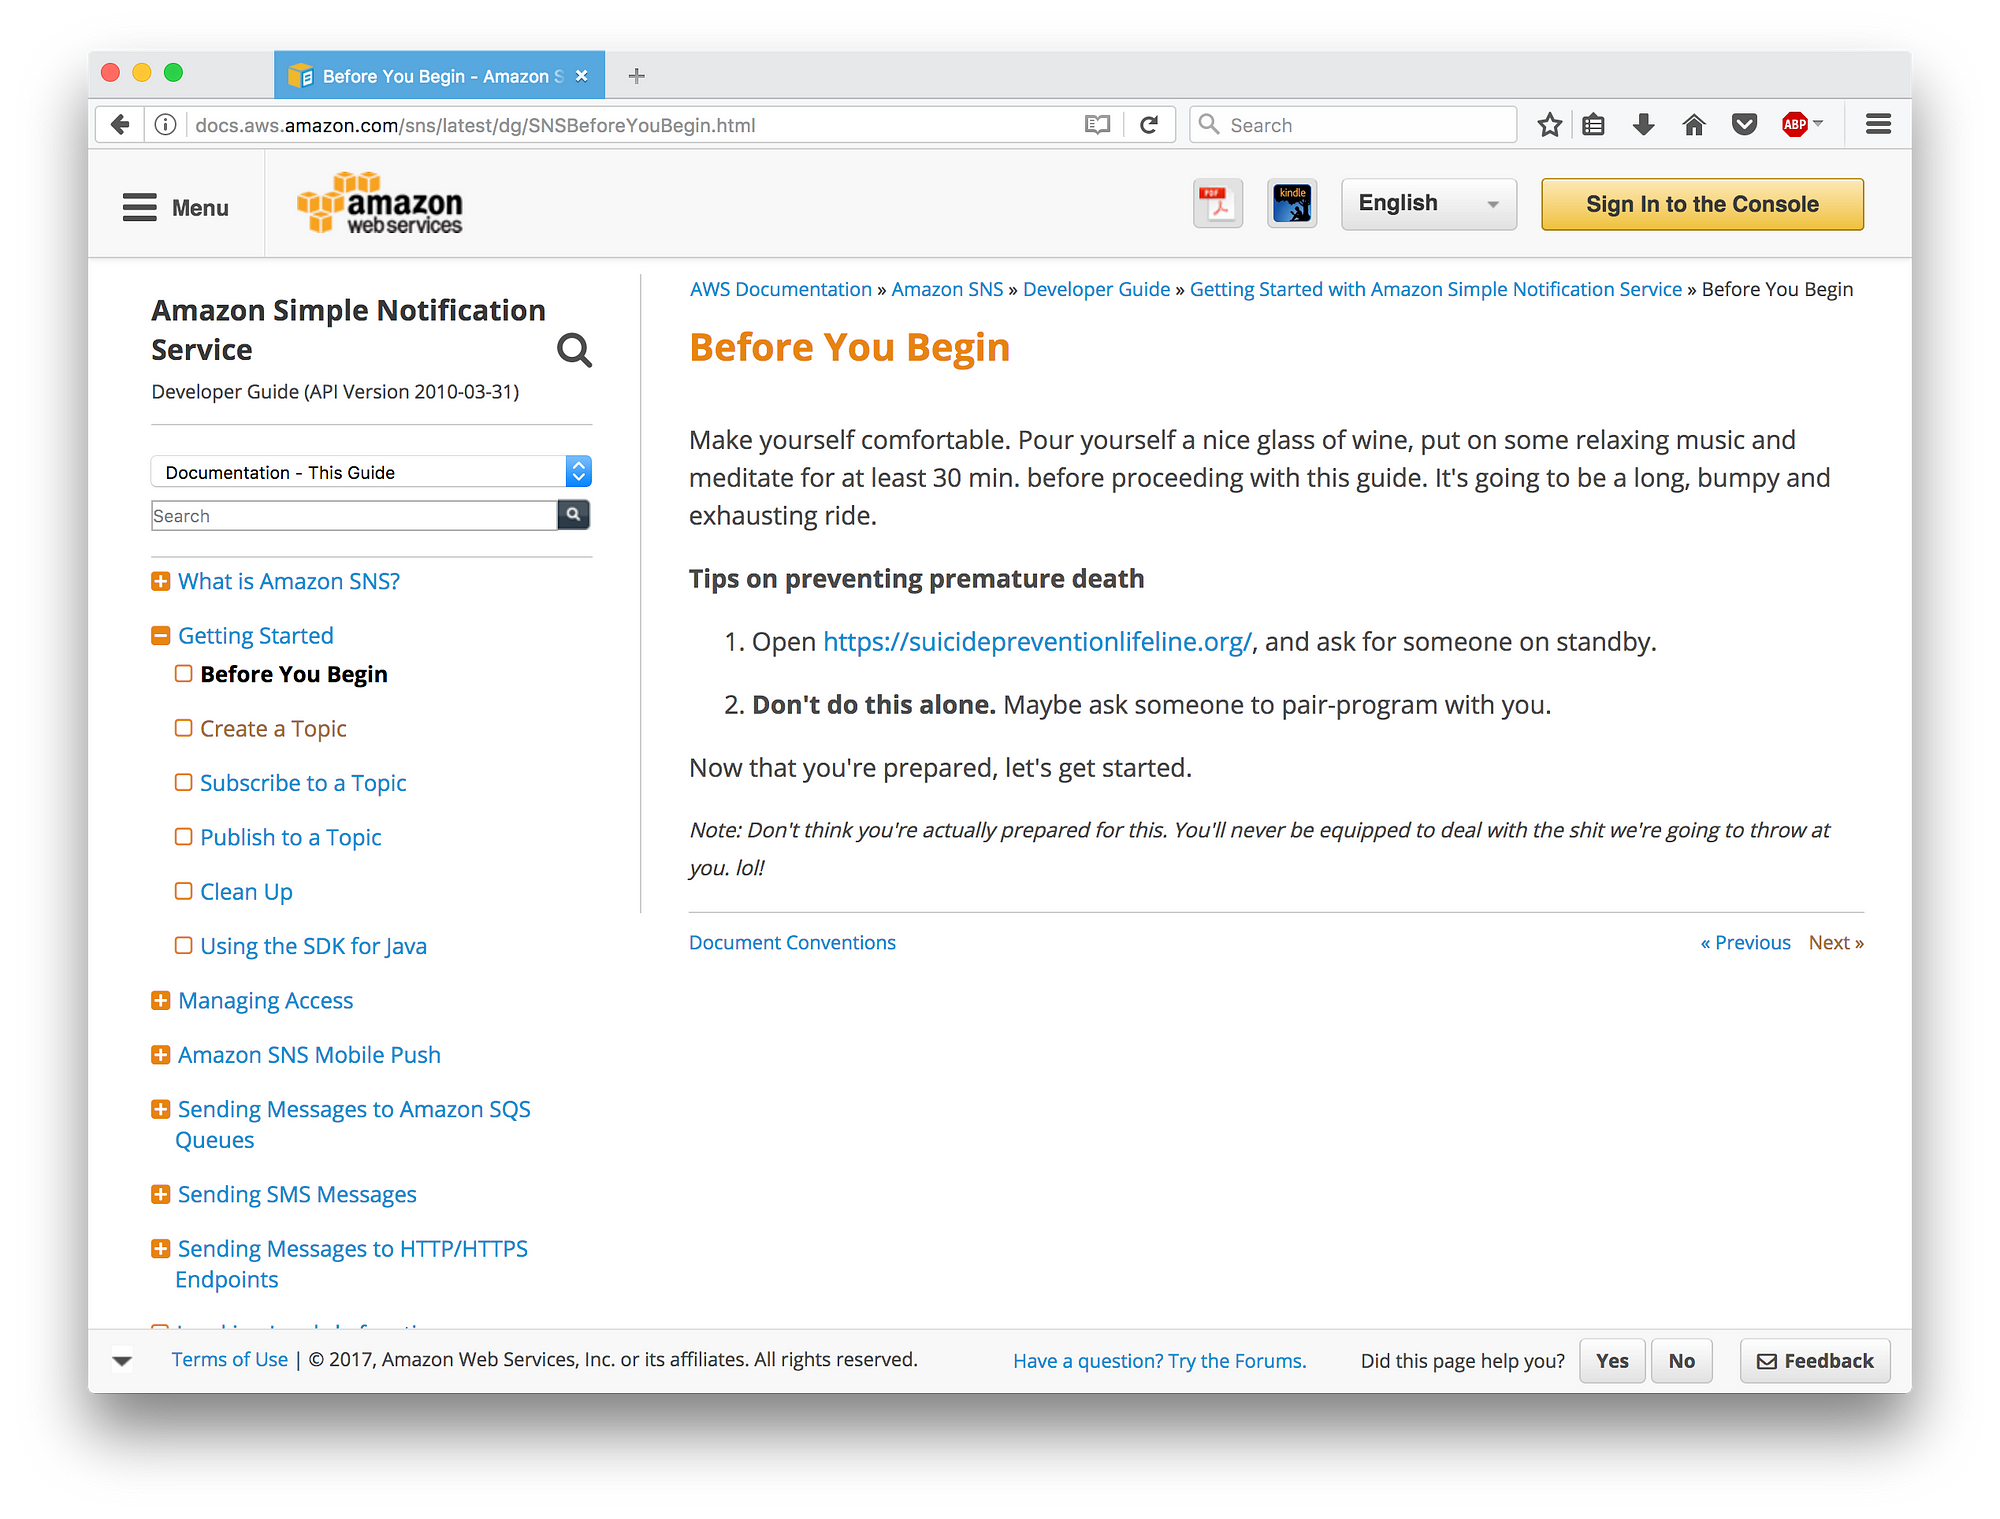
Morbid? Perhaps. Exaggerated? Greatly. Funny to me? Absolutely. Getting to the point? Alright. From the documentation:
Amazon Simple Notification Service (Amazon SNS) is a web service that coordinates and manages the delivery or sending of messages to subscribing endpoints or clients.
In theory this sounds great. It’s very affordable and I trust the infrastructure that Amazon provides. My biggest problem with AWS in general, is the complexity that comes with it. The documentation is abundant, but difficult to follow. SNS is no different.
I have to admit that the problem is probably me. This is the first time I work with push notifications so it makes sense that this is difficult to understand and get up and running. If I had more time to set this up, I’d probably spend it figuring out SNS. It’s cheap, and scales well.
I might make a follow-up post about this once I get to it. But not today.
OneSignal
The first thing I noticed when I landed on their website was the header:
High volume, cross platform push notification delivery
Cool… Nice website, promising opening sentence. This is going to be expensive. Naturally, the first thing I did was click on Pricing. To my surprise, it turned out to be 100% free!
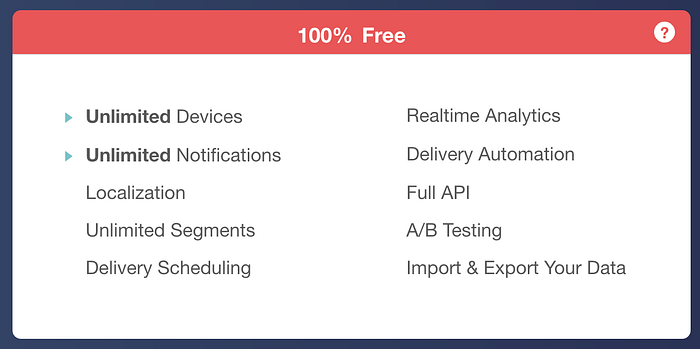
This was great news because I like free. I mean, who doesn’t!? But then I noticed that little question mark, and decided to click it.
It’s free; how does OneSignal make money?
We make money by using the data we aggregate to improve web and mobile experiences. We also offer custom solutions to enterprise clients.
Woah! Okay. Well, that’s not necessarily a bad thing though, is it? It’s vague enough. Surveys, maybe? Let’s keep digging. I opened up their privacy policy, and found a bunch of things they collect:
- Apps an End User has installed and enabled, and how it has used an App (e.g., session duration, time-stamp)
- Purchases made within an app.
- Information about End User’s transactions and interactions with apps and websites
- Mobile advertising identifiers, such as iOS IDFAs and Android Advertising IDs (“Mobile IDs”). These Mobile IDs may be associated with other Information, including with Data Segments.
- Precise Location information, generally an End User’s lat/long data (i.e., GPS-level data) or WiFi information, which we may associate with Mobile IDs, and which may be collected whether or not an app is in use.
- Email address, which we may (in our discretion) hash or otherwise deidentify.
- IP address as well as system configuration information
- Information associated with or related to devices, such as device type (e.g., mobile, tablet); type and version of operating system (e.g., Android, iOS); network provider; mobile browser (e.g. Safari, Chrome, etc.); language setting; time zone; and network status type (such as WiFi).
In their docs, I then found this information:
FREE — Best of all, OneSignal is a free service that supports unlimited devices and notifications. OneSignal makes money by selling data to advertisers and research companies. We also offer paid service options for clients that require increased data privacy.
This was everything I needed to decide to keep looking. I don’t feel confident using this.
Firebase
Firebase looked awesome. It seems well documented, has a pretty design, and is also free. They too collect user data, but it’s less aggressive, as in they only collect what you use (they ask you if it’s okay).
Unless a Data Location Selection is offered by Google and made by Customer as defined in the Google Cloud Platform License Agreement, Google may process and store Customer Data anywhere Google or its agents maintain facilities, including Google Cloud Platform locations and Google data centers.
Right about this time, I had my sights set on setting up my own server. The reason for this was that I want to protect the privacy of my users, and also me being curious about how this stuff works. I’ll definitely write a follow-up on firebase, but for now let’s set up our own server.
Folding my own
Generally, I’m not a huge fan of folding my own services. I’ve built enough software to know that this comes with maintenance, and headaches. The project I’m working on isn’t worth the investment of time yet either, so I really didn’t want to build it myself. Unwillingly, I decided to google for solutions, and pretty much instantly landed node-pushnotifications.
Before I get into the implementation, I’ll first talk about the things I noticed, and had to learn about. I’ll prepare my environment and get all this “key stuff” in order. Due to the order I did things in, this section might be a bit incoherent, but I’ll try my best to explain it.
Apn, gcm.. What?
The readme of this plugin has a usage section that already contains a lot of information that is entirely new to me. The short version, is that apn is for iOS and gcm is for android. I found this out because grammar:
I.e. if your app is only available for android or for ios, you should only include
gcmorapnrespectively.
Awesome. Now, let’s pick a platform to start with… iOS! The first thing that caught my eye is the key.p8 file documented. What is this? After some digging, I found out that this is a relatively new certificate format from (surprise) Apple.
Note: You can also use the .p12 format, but I’m not going to tell you how. Unless you really really want me to, let me know.
Creating a .p8 certificate
Creating a .p8 certificate turned out to be easier than I thought. The following is a small guide explaining how to do it, so that you too can have your very own .p8 file!
- Go to the developer portal and log in
- On the left, under Certificates click on All
- In the top right, click on the + (or this link)
- You’ll see a bunch of radio buttons! Select “Apple Push Notification Authentication Key (Sandbox & Production)” and click Continue
- Click download
- Copy the Key ID, you’ll need it later
- Done
- Yes really, done.
The downloaded file is the key you’ll need to authenticate with the apn service (is that what you call it?), so store it somewhere secure. I chose to put it in a .gitignore-d directory in my project.
Deploying a .p8 key
It may be a bit early for this step, but the first thing I wondered was: how can I deploy this key to heroku without checking this file in to version control?
For some still unclear reason I decided to try and open the file in my editor. Oh! It’s just a text-based key. Sweet. That means I can use environment variables. Using the heroku toolbelt I then uploaded my certificate to heroku:
heroku config:add APN_CERT=”$(cat certs/APNsAuthKey.p8)” --app my-app-nameSomething about tokens
At this point, I wanted to know how this stuff actually is going to work, at an abstract level. Having the certificate setup is cool and all, but what is it for? What’s next? After some searching I found a video that’s just vague enough to explain the concepts abstractly.
I do recommend watching it, even though I just classified it as vague. It helped me realize that I need a device token to identify and target specific users, and the certificate to identify myself with <notification service>.
Okay, great. We have the certificate covered, now it’s time to get the device token, so we can identify users we want to send push notifications to.
Note: For now, I’ll not talk about “topics” as I have no need for them yet. Further down this article I’ll realize how wrong I was when writing this sentence.
Preparing the app
Note: If you run into issues with your provisioning profile here, I’ve included some additional information at the end of the article that might help you out.
To get a device token, we need to have push notifications enabled on the phone first. I’ll be using https://github.com/zo0r/react-native-push-notification for this, which explains how it needs to be set up in the readme pretty well. Install it, configure it, link the dependencies. You do need to also follow the manual steps. Don’t forget to enable the Capability in xcode! As to the config, it doesn’t really matter where you put it. I’m using Ignite, so for me it’s in App/Config/PushConfig.js.
Note: If you’re managing your App ID manually, like I am, you’ll want to now also enable the Push Notifications service in Apple developer dashboard. I’ve added a small guide on how to do this at the end of this article.
If you’re as impatient as I am, you just want to get the token now. So, you open the push notification code, set “requestPermissions” to true, log the token you get in onRegister() to the console (or Reactotron in my case), and fire up the simulator, right!? Wrong. You will see the request for permissions when opening your app, but upon allowing them you won’t see anything.
I remember reading that you need a real device to test push notifications, which apparently includes getting the token. To test this, I hooked up my phone, opened up xcode, and deployed the app to my phone. Success! You get an object with two keys, token and os.
Note: If you’re using Reactotron, like I am, don’t forget to make sure your mobile device is on the same WiFi network as your development machine. Also make sure to edit your ReactotronConfig and set the host in configure to your IP address to make logging actually work. For android, also run this command to allow communication:
$ANDROID_HOME/platform-tools/adb reverse tcp:9090 tcp:9090For my app, authentication is optional. That means I won’t be pushing anything until you authenticate. I’ll set requestPermissions back to false, and manually request permissions later when I need them using PushNotifications.requestPermissions().
Note: You’ll only get the “request for permissions” once. If you want to see it again, you need to delete the app from the device and install it again.
Can we just push already?
No. Setting up push notifications is suffering. I think. I don’t know, I’m writing this as I go, so I haven’t gotten it to work yet at this point.
About three sentences and one note ago, I said I’ll request permissions “later”. That time is now. In my login saga (Sagas/LoginSagas.js), after successfully logging in, I request permissions (this may differ from your code, but the concepts remain the same):
import PushNotification from 'react-native-push-notification';export function * authenticate(api, {accessToken}) {
  const response = yield call([api, api.authenticate], accessToken);

  yield call([Keychain, Keychain.setGenericPassword], 'api_token', response.access_token);

  PushNotification.requestPermissions(); // New

  yield[
    put(LoginActions.authenticateSuccess(response.user)),
    put(NavigationActions.back())
  ];
}
As you might have noticed, I call this method in a fire and forget manner. I don’t handle what it throws back it me. The reason for this is that requestPermissions() doesn’t offer this functionality. Instead, I’ll have to implement this using the onRegister callback in the config.
For Ignite users this means you’ll have to (if you haven’t already) change two files in your project before proceeding. First, Containers/App.js. Remove this line:
const store = createStore();And in the import, change the name to store.
- import createStore from '../Redux'
+ import store from '../Redux'
Now open up Redux/index.js and instead of exporting a default function, export:
import {combineReducers} from 'redux';
import configureStore from './CreateStore';
import rootSaga from '../Sagas/';

const rootReducer = combineReducers({
  login: require('./LoginRedux').reducer,
});

export default configureStore(rootReducer, rootSaga);
This makes the store accessible to other parts of the application (like our config, where we’ll want to dispatch an action once we get our token).
I create my Redux/NotificationRedux.js file, using the lovely reduxsauce:
import {createReducer, createActions} from 'reduxsauce';
import Immutable from 'seamless-immutable';

const {Types, Creators} = createActions({
  notificationSignup       : ['token', 'os'],
  notificationSignupSuccess: null,
  notificationSignupFailure: null,
});

export const NotificationTypes = Types;
export default Creators;

export const INITIAL_STATE = Immutable({});

export const reducer = createReducer(INITIAL_STATE, {});
Then I create my Saga in Sagas/NotificationSagas.js (I know I should handle exceptions here, and I will. It’s just not relevant for this article)
import {call, put} from 'redux-saga/effects';
import notificationActions from '../Redux/NotificationRedux';

export function * notificationSignup(api, {token, os}) {
  yield call([api, api.signup], token, os);

  yield put(notificationActions.notificationSignupSuccess());
}
I proceed by creating Services/NotificationService.js (api just contains a configured apisauce instance):
import api from './Api';

class NotificationService {
  signup(token, os) {
    return api.post('/notification/signup', {token, os})
      .then(response => {
        if (!response.ok) {
          return new Error('not_ok');
        }

        return response.data;
      })
      .catch(error => console.tron.error(error));
  }
}

export default new NotificationService();
And finally, here’s the updated, relevant code in Config/PushConfig.js:
import PushNotification from 'react-native-push-notification';
import notificationActions from '../Redux/NotificationRedux';
import store from '../Redux';PushNotification.configure({

  onRegister: ({token, os}) => {
    store.dispatch(notificationActions.notificationSignup(token, os));
  }
});
That’s a lot to digest. Basically, it just waits for the token to come up. Once it does, you send it to the server so you can store it there.
Note: For Ignite, there’s one more step. By default (at the time of writing) the PushConfig.js file doesn’t doe anything. You’ll have to import it first. Open up App/Config/index.js and add:
import './PushConfig';The server
If you’re using wetland, here’s the command I used to generate the entity:
wetland generator entity device -f 'created:datetime,user,os,token,lastNotification:datetimeJust manually hook up user to the actual user:
mapping.manyToOne('user', {targetEntity: 'User', inversedBy: 'devices'});Add the mapping back to device:
mapping.oneToMany('devices', {targetEntity: 'Device', mappedBy: 'user'});And give created a default value:
mapping.field('created', {type: 'datetime', defaultTo: mapping.now()});I chose a oneToMany relationship because I want to support multiple devices per user. Now it’s important that you store the key somewhere in your database (I use the device table, but I’ll leave that up to you).
What I did next, was set up a config for the push notifications (from https://www.npmjs.com/package/node-pushnotifications):
module.exports.pushnotifications = {
  gcm: {
    id: null,
  },
  apn: {
    token: {
      key   : process.env.APN_CERT || __dirname + '/certs/APNsAuthKey.p8',
      keyId : 'foo',
      teamId: 'bar',
    },
  }
};
Earlier you created a .p8 certificate, and copied the keyId somewhere safe. It’s the key’s time to shine! Replace foo with the key. To get the teamId, visit this page and scroll down to Team ID.
Note: process.env.APN_CERT is the environment variable we added to heroku earlier on.
Finally, I created a really small notification service to hopefully help us send out notifications (it doesn’t look like much, but it will get additional behavior in the future).
const PushNotifications = new require('node-pushnotifications');

class NotificationService {
  init() {
    this.config = sails.config.pushnotifications;
    this.push   = new PushNotifications(this.config);
  }

  send(registrationIds, data) {
    return this.push.send(registrationIds, data);
  }
}

module.exports = new NotificationService;
Testing? Wooo!
Yes, it’s testing time. While testing I came across an error: Error: MissingTopic. Topics are required? Alright… Well, let’s call this somethingNew and resend it. Right? This time I got: Error: TopicDisallowed Topics are required, but mine isn’t allowed? What…
Google to the rescue! Topic, in this sense, is just your bundle identifier (app ID). Remember, we haven’t touched android yet, so it might be different there. Anyway, entering the app ID worked, and I got my first push notification.
let data = {title: 'hello world!', body: 'I am content.', topic: 'org.spoonx.app.myapp'};NotificationService.send(data, 'some_token_we_stored_from_device');
Success!
Now, let’s prepare android.
Google isn’t much better at building intuitive user interfaces than say, aws. It took me quite a lot of searching (they really want you to use firebase). Long story short, go to this url: https://console.developers.google.com/apis/credentials and create a new API key. This is the ID value for the server-side config in gcm.
Did you do that? Are you also wondering where to get the senderId from for the React Native side of the configuration? Good. Now you’ll know how I felt when I found this link: https://developers.google.com/mobile/add?platform=android just follow the steps and you’ll get your senderId (for our app) and Server API Key (server side).
Now our server-side config looks like this:
module.exports.pushnotifications = {
  gcm: {
    id: 'Server API Key',
  },
  apn: {
    token: {
      key   : process.env.APN_CERT || __dirname + '/certs/APNsAuthKey.p8',
      keyId : 'YOUR_KEY_ID',
      teamId: 'YOUR_TEAM_ID',
    },
  }
};
And our client PushConfig, as a whole, looks like this:
import PushNotification from 'react-native-push-notification';
import notificationActions from '../Redux/NotificationRedux';
import store from '../Redux';

// https://github.com/zo0r/react-native-push-notification
PushNotification.configure({

  // (optional) Called when Token is generated (iOS and Android)
  onRegister: ({token, os}) => {
    store.dispatch(notificationActions.notificationSignup(token, os));
  },

  // (required) Called when a remote or local notification is opened or received
  onNotification: (notification) => {
    // @todo take action!
  },

  // ANDROID ONLY: (optional) GCM Sender ID.
  senderID: 'Your sender ID',

  // IOS ONLY (optional): default: all - Permissions to register.
  permissions: {
    alert: true,
    badge: true,
    sound: true
  },

  // Should the initial notification be popped automatically
  // default: true
  // Leave this off unless you have good reason.
  popInitialNotification: false,

  requestPermissions: false
});
Now if we follow the same steps, but for android, we’ll also get a push notification.
let data = {title: 'hia!', body: 'I am in your phone.', topic: 'org.spoonx.app.myapp'};NotificationService.send(data, 'some_token_we_stored_from_device_but_this_time_for_android');
Sweet.
Conclusion
This was a trippy ride, but I’m glad I finally (kinda) understand how it works. The concepts weren’t all that difficult actually, it’s the whole dance surrounding it that makes it daunting as a task. I hope this article was useful to you.
Notes / additional information
A note on provisioning profiles / capabilities
I decided to add this bit in later as I struggled with it a lot after writing this article. Provisioning profiles are suffering. However, once you understand what might cause certain problems, it’s not that bad. This is a tiny diagnostics / repair guide I cooked up for myself. Follow it in chronological order:
- Try the basics! Clear your build cache (cmd + shift + k in xcode).
- Don’t touch your signing certificate. I’ve seen developers think there’s a problem there, but if it worked before, it’s probably not the cause. Certificates don’t change as your permissions change, they just sign.
- Make sure your App ID has the correct “Application Services” selected. Seeing how this article is about Push Notifications, that’s probably the one you’re looking for. More info on how to do this can be found in the next note below, “A note on enabling push notifications for your App ID”.
- Make sure you have selected the capabilities in xcode. In your xcode project, go to your main project, click Capabilities in the tabs, and make sure Push Notifications has been checked. If it complains about your entitlements file, click fix issue. This adds the required lines to your entitlements file.
- Make sure you regenerate your provisioning profile. You changed your capabilities in step 2, so you’ll need to generate, download and import a new provisioning profile. To do this, simply go here, select your profile, click edit, click generate, click download, click the downloaded file. Celebrate your victory.
- Nuke your device’s current provisioning profiles. Well, kind of. I kept getting this beauty of an error:
“The entitlements specified in your application’s Code Signing Entitlements file are invalid, not permitted, or do not match those specified in your provisioning profile.”. To hopefully spare you the circle of despair, suffering and tearing your own vocal cords, I’ve added a note below on how I fixed this. - Restart xcode. I know it sounds silly, but xcode is on the spectrum. It needs a timeout so it can regroup.
- Bonus: verify that your project’s Tests target is signed using the same team as your main target.
A note one entitlements file errors
The entitlements specified in your application’s Code Signing Entitlements file are invalid, not permitted, or do not match those specified in your provisioning profile.
I have this error tattoo’d on my retina. This error made me want to burn down my house. Luckily, I then found a stupendously simple solution to this problem.
You might already know this, but I didn’t. Provisioning profiles get installed on the device you run the app on. Xcode, I assume, tries to be smart and doesn’t re-install provisioning profiles when already there. It also might have conflicting profiles, with the same identifier causing it to use the wrong profile when installing the app.
To fix this, open up the devices window (cmd+shift+2, or window > devices), right click (ctrl + click) on your device in the list, and select Show Provisioning Profiles.

Find the ones related to your app, and delete them (click the minus thingy at the bottom).
Next up, install your provisioning profile again. Just click it and it will open in xcode. Now try running your app again. If this doesn’t work, restart xcode. Give it some time.
Do take note that this problem / error has many, many possible causes. I just found this to be the solution that worked most. All the other solutions I found on stack overflow solved this issue as a side-effect to the real problem I describe here.
A note on enabling push notifications for your App ID
You can enable push notifications for your App ID here. Click on your app ID, click edit, and enable push notifications.
When enabling push notifications for your app ID, you’ll need to generate certificates. The steps are simple, and clearly explained in the developer portal. Take note, that you should create both a development and a production certificate. Double click the generated and downloaded certificates to automatically add them to your keychain. Keep these certificates safe.
A note on background notifications
When sending a push notification while your app is not active, i.e. your phone is locked or you’re kicking it on whatsapp, you might notice that upon tapping the banner (or whatever notification type you tapped) doesn’t trigger a call to the onNotification callback.
You can have this method called by adding contentAvailable: 1 to your message, like so:
let data = {title: 'hia!', body: 'I am in your phone.', topic: 'org.spoonx.app.myapp', contentAvailable: 1};NotificationService.send(data, 'some_token_we_stored_from_device');
If onNotification isn’t called when the app opened from a killed state, you might have popInitialNotification set to false in the React native Push config. Set this to true, and onNotification should be called.
A note on Wetland
Earlier in the article I mentioned wetland and thought it might be useful to explain what it is. Wetland is an ORM for Node.js that brings a lot of features to the table. If you’re a Node.js developer, I do recommend checking it out.