Painless React Native Setup for Mac, Windows, & Linux
Part Three — Linux

This is Part 3 of a three-part series covering React Native setup for Mac, Windows, & Linux.
During my teaching with Infinite Red Academy, one of the initial challenges I’ve noticed when students are getting started with React Native is installing and running React Native on their machines. Our classes and workshops are filled with students running a mix of Mac OS, Windows, and Linux so the set-up process for each individual student varies greatly across all three operating systems. If you’re a student in one of our workshops or just getting started with React Native on your own, this step-by-step guide will help you painlessly set up React Native on your Linux machine!
PRO TIP: Make sure you’re connected to the internet!

Setting up for Linux
Dependencies (Install instructions below)
- Node
- React Native CLI
- Java Developer Kit
- Android Studio
- Watchman
LET’S GET STARTED
We’re going to show installation on Ubuntu or Debian — links for other OS will be included for each step 😉
Install Node.js (8.0):
curl -sL https://deb.nodesource.com/setup_8.x | sudo -E bash -
sudo apt-get install -y nodejs
If you’re not running Ubuntu or Debian, check for your Linux distribution installation instructions here.
Install React Native CLI:
npm i -g react-native-cli
Install Java Development Kit:
- You’ll need your Linux version: Get it by typing
hostnamectlin your terminal.

2. Download the correct JDK file from here.
PRO TIP: You can probably get a coffee while the JDK downloads…
3. Extract the JDK package and you’re good to go. (Usually just double click on the downloaded file and the files should be extracted to root for you).

Install Android Studio:
If you’re running the 64-bit version of Ubuntu: you’ll have to install additional libraries with:
sudo apt-get install libc6:i386 libncurses5:i386 libstdc++6:i386 lib32z1 libbz2-1.0:i386- Download Android Studio here.
PRO TIP: You can probably refill aforementioned coffee while Android Studio downloads…
2. Extract the download to a folder of your choice (or just root directory).
3. cd {your-extracted-directory}/android-studio/bin
4. ./studio.sh
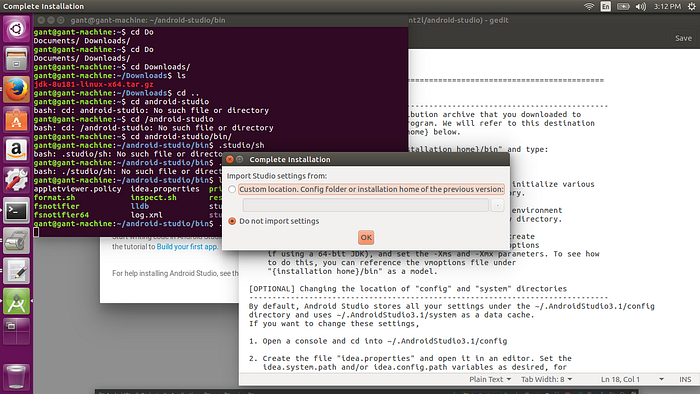
5. Check “Do not import settings” when prompted. (Unless you have a previous version of Android Studio and you’d like to import its configs).
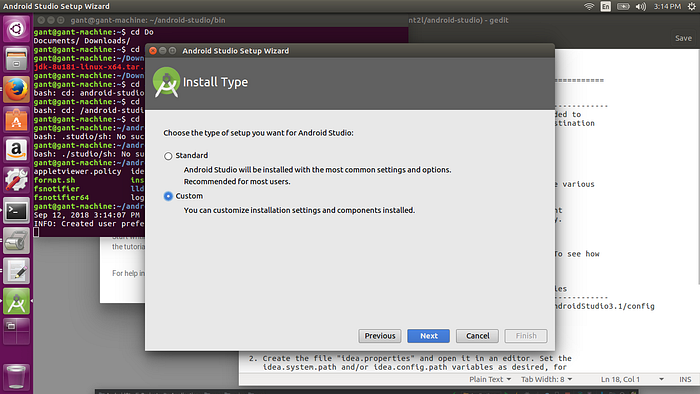
6. Follow the Wizard

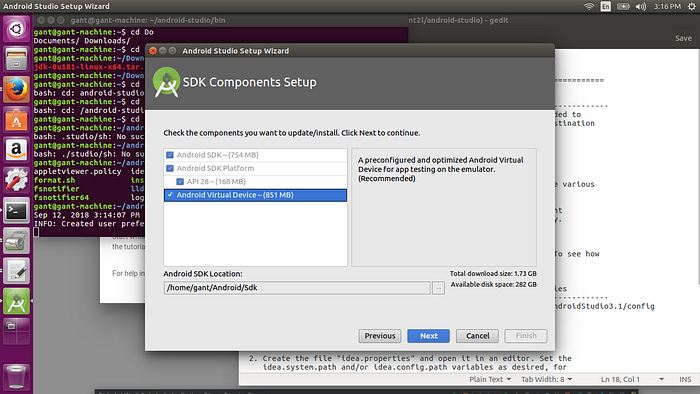
7. Check all boxes for:
Android SDKAndroid SDK Platform- —
API 28or greater Android Virtual Device
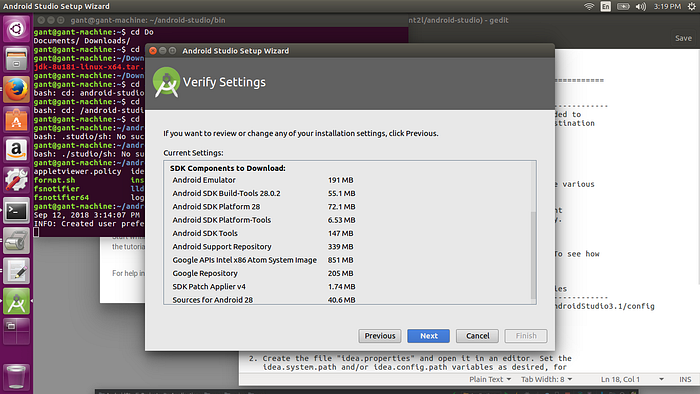
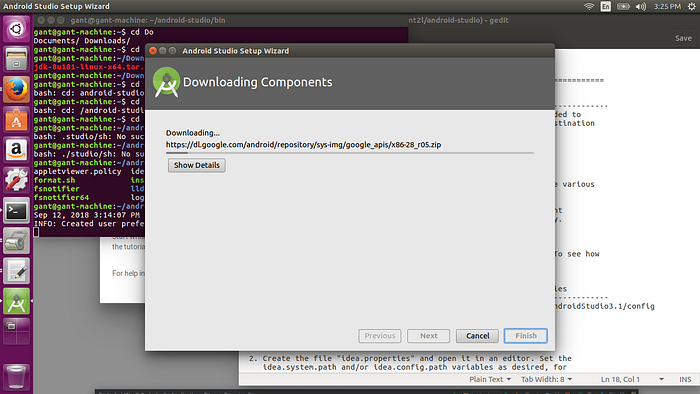
8. Finish and download! (This will take awhile).
9. When it’s finished downloading, you can close Android Studio?
Configure JAVA_HOME & ANDROID_HOME environment variables:
If your terminal is still running Android studio:
ctrl + C a few times to stop it
NEXT:
Check if you have a .bash_profile file in your root directory:
ls -a in your terminal and check for the .bash_profile file.
If you don’t have a .bash_profile in your root directory:
touch .bash_profile
Open your bash profile:
nano /.bash_profile
and add:
export JAVA_HOME="$HOME/jdk1.8.0_181" // Or your version of the jdk
export PATH=$PATH: "$JAVA_HOME/bin"
export ANDROID_HOME=$HOME/Android/Sdk export PATH=$PATH:$ANDROID_HOME/tools export PATH=$PATH:$ANDROID_HOME/tools/bin export PATH=$PATH:$ANDROID_HOME/platform-tools export PATH=$PATH:$ANDROID_HOME/emulator
Then ctrl + o to write out, hit Enter and then ctrl + x to close the editor.
Install Watchman:
First, install Linuxbrew:
sudo apt install linuxbrew-wrapper
…then:
brew update && brew install watchman (might get a warning, just hit Enter)
LAST: Configure .bashrc for correct path to npm.
npm list -g | head -n 1 will give you the path to npm
Usually it’s something like /home/frank/.npm-global/lib
Now let’s add the path to npm into the .bashrc file:
In root directory: nano .bashrc
Scroll (or down arrow) to the bottom of the .bashrc file and add:
export PATH="$HOME/.npm-global/bin:$PATH"Then ctrl + o to write out, hit Enter and then ctrl + x to close the editor.
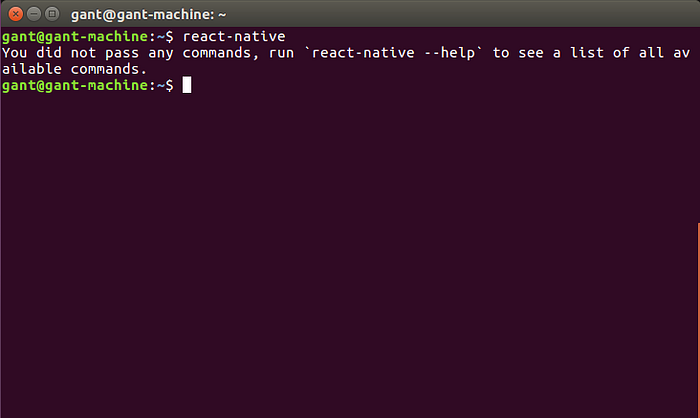
In your command line you should be able to type react-native and get this:
THAT’S IT! 🎉 (finally)
Now you’re ready to create your first React Native App!
cd into a /projects folder, or wherever you want to keep your projects
Create a React Native App:
react-native init YourProjectName
Setup an Android Virtual Device:
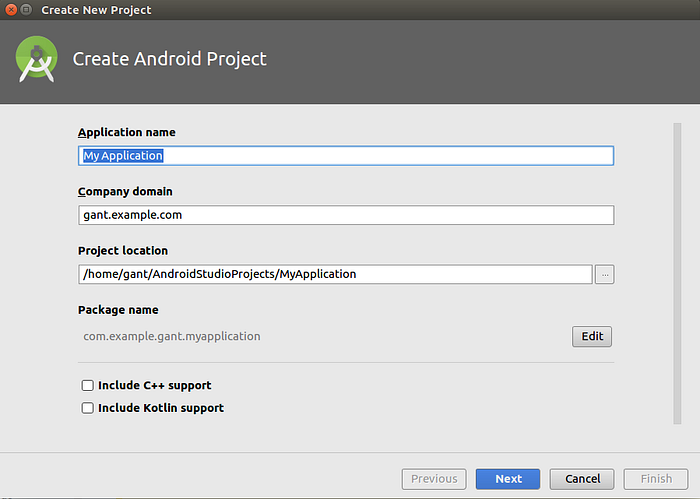
- Open Android studio: in
android-studio/bintype./studio.sh - Click on Create a New Project
- Name it if you want or just accept
My Applicationas the default name
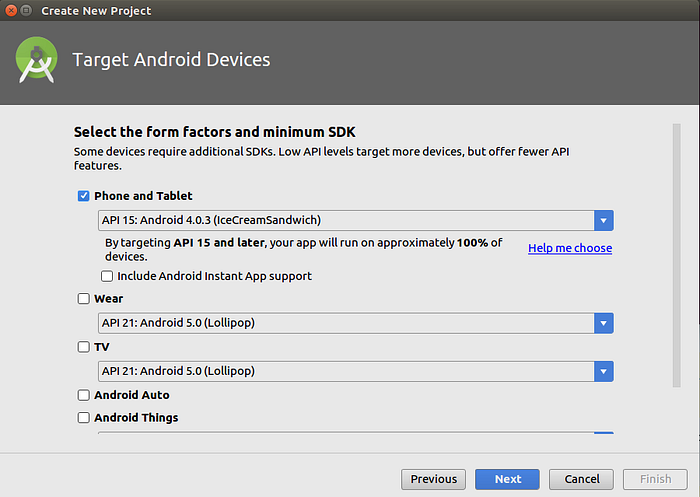
4. Select “Phone and Tablet” for the target devices
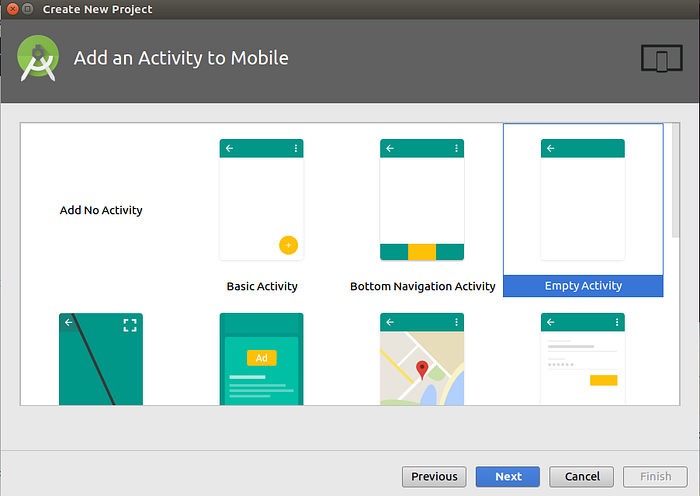
5. Select an “Empty Activity” from the “Add an Activity to Mobile” screen
6. Hit “Finish” on the Configure Activity screen

7. After your project is completed, Android Studio should look like this:
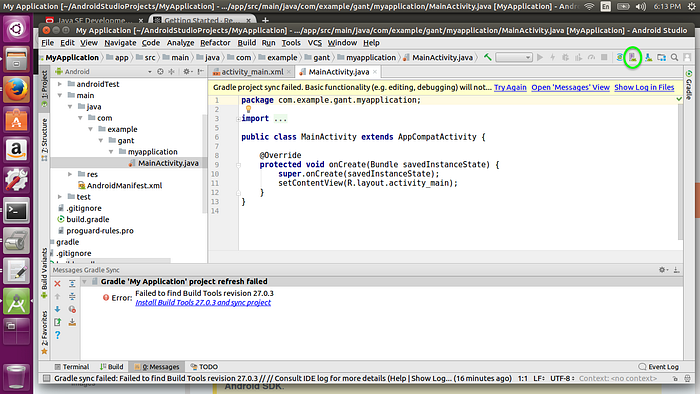
8. Click the icon noted in the image above to launch the Android Virtual Device (AVD) manager

9. Click the ▶️ button in the AVD to launch the emulator
If you try to run an AVD and you get this message:
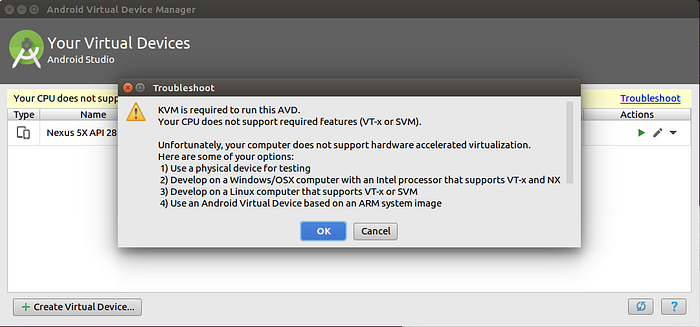
You might be running 64-bit Ubuntu, and will need to install a few things:
sudo apt-get install qemu-kvm libvirt-bin virtinst bridge-utils cpu-checkerThen run
kvm-okIf you output still says your CPU doesn’t support KVM extensions…
Try downloading and running one of the alternative emulators here.
If none of this works, you’ll have to run your React Native project on an Android Device.
Agree to Android SDK licenses:
sdkmanager --licenses
You’ll have to hit y and Enter a bit as there are quite a few licenses.
Run Your Project:
In one terminal: npm start — to start the packager
In another terminal:react-native run-android
About Frank
Frank von Hoven III is a Software Engineer at Infinite Red, specializing in React Native mobile development, an instructor with Infinite Red Academy, and the Editor-in-Chief of The React Native Newsletter. He lives in New Orleans, LA.