Painless React Native Setup for Mac, Windows, & Linux
Part Two — Windows

This is Part 2 of a three-part series covering React Native setup for Mac, Windows, & Linux.
During my teaching with Infinite Red Academy, one of the initial challenges I’ve noticed when students are getting started with React Native is installing and running React Native on their machines. Our classes and workshops are filled with students running a mix of Mac OS, Windows, and Linux so the set-up process for each individual student varies greatly across all three operating systems. If you’re a student in one of our workshops or just getting started with React Native on your own, this step-by-step guide will help you painlessly set up React Native on your Windows machine!
PRO TIP: Make sure you’re connected to the internet!

Setting up for Windows
Dependencies (Install instructions below)
- Node
- Python2
- React Native CLI
- Java Developer Kit
- Android Studio
Optional dependencies
- Yarn
- Solidarity
LET’S GET STARTED
Install Chocolatey:
(To install Chocolatey, you need to run as administrator — right click cmd or Powershell and select “Run as Administrator.”)
- Powershell:
Set-ExecutionPolicy Bypass -Scope Process -Force; iex ((New-Object System.Net.WebClient).DownloadString('https://chocolatey.org/install.ps1'))- Cmd.exe:
@"%SystemRoot%\System32\WindowsPowerShell\v1.0\powershell.exe" -NoProfile -InputFormat None -ExecutionPolicy Bypass -Command "iex ((New-Object System.Net.WebClient).DownloadString('https://chocolatey.org/install.ps1'))" && SET "PATH=%PATH%;%ALLUSERSPROFILE%\chocolatey\bin"You should see:
Install Node, Python2, & JDK (in administrator prompt):
choco install -y nodejs.install python2 jdk8From this point on, we’re going use yarn to install our node packages:
Install Yarn:
choco install -y yarnInstall React Native CLI:
yarn global add react-native-cliInstall Android Studio:
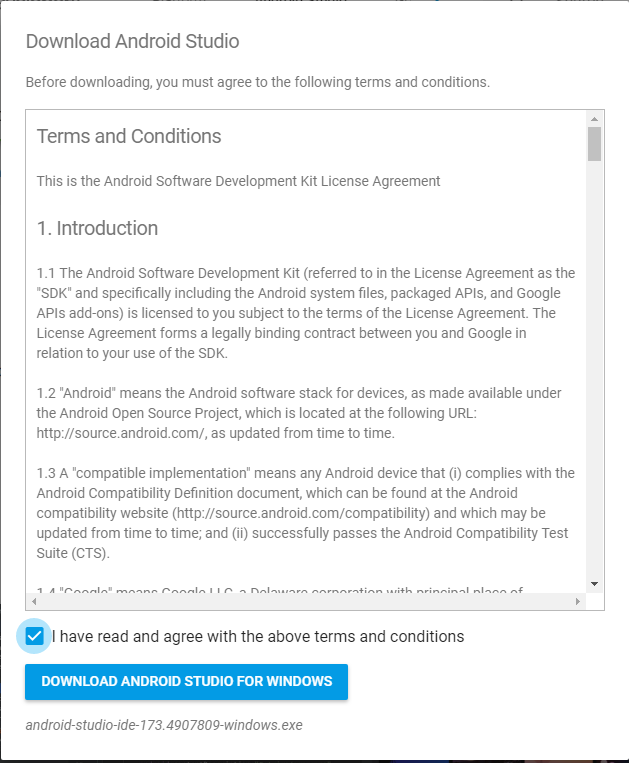
- Download Android Studio here.

2. Run the downloaded file by double clicking on it.
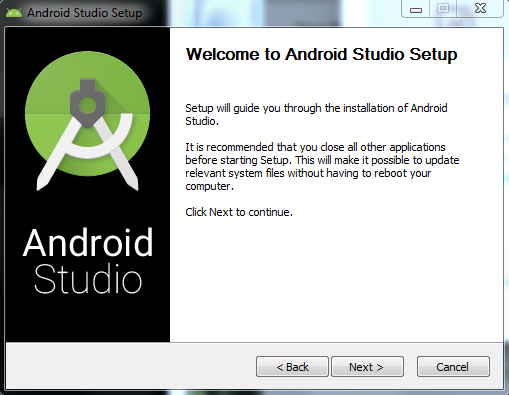
3. Begin the Android Studio installation wizard.
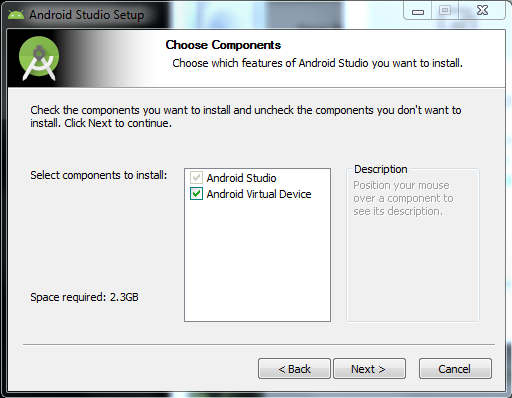
3. Select “Android Virtual Device” when choosing components.
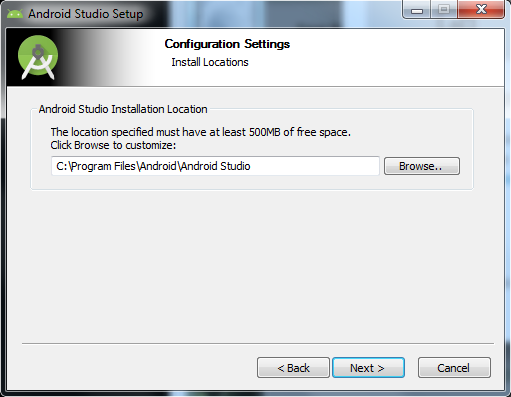
4. Select the installation folder for Android Studio
5. Select the Start Menu Folder Name (recommend “Android Studio”).
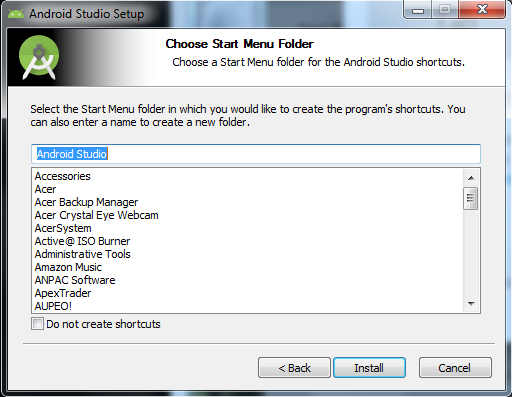
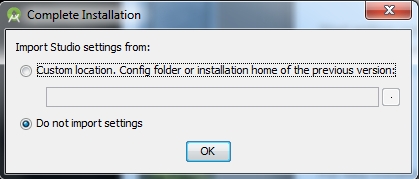
6. Check “Do not import settings” when prompted. (Unless you have a previous version of Android Studio and you’d like to import its configs).
7. Agree to the Android Studio Terms & Conditions.
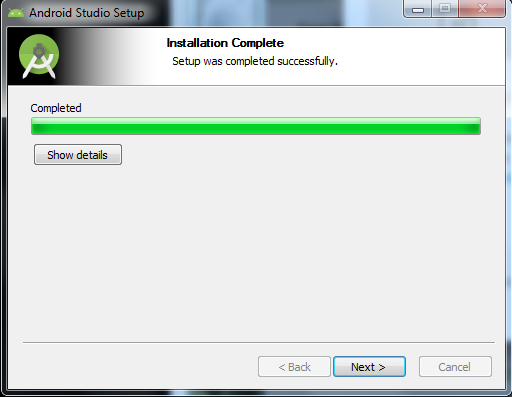
8. Wait for Android Studio to install…

9. When installation is complete hit “Next”
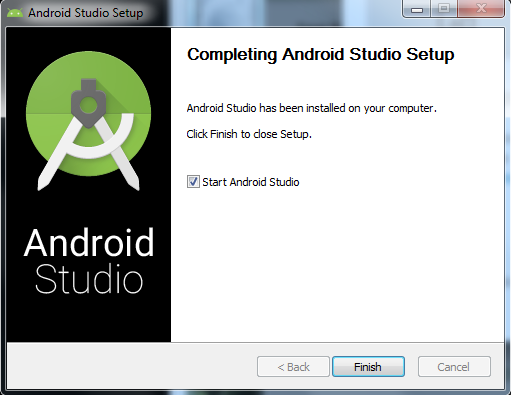
10. Click “Finish” to launch Android Studio
Initially configure Android Studio:
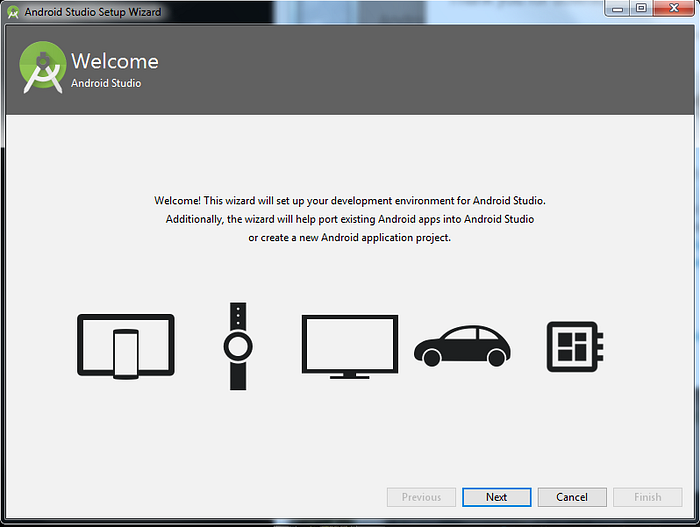
- Begin the Android Studio configuration wizard.
2. Select “Custom” Install Type

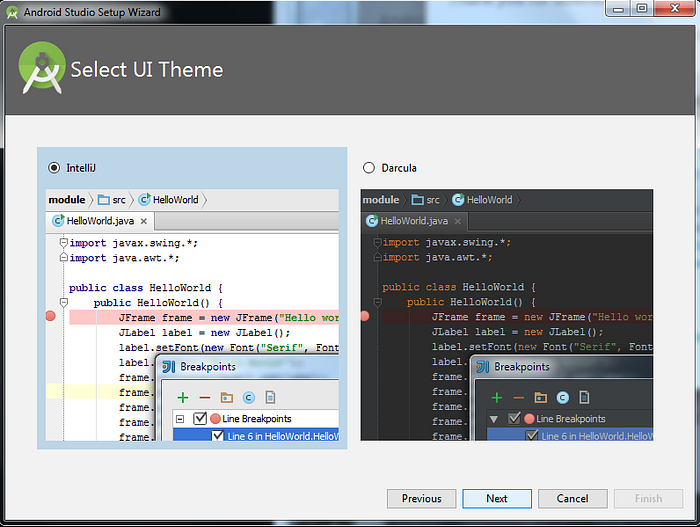
3. Select your UI Theme.
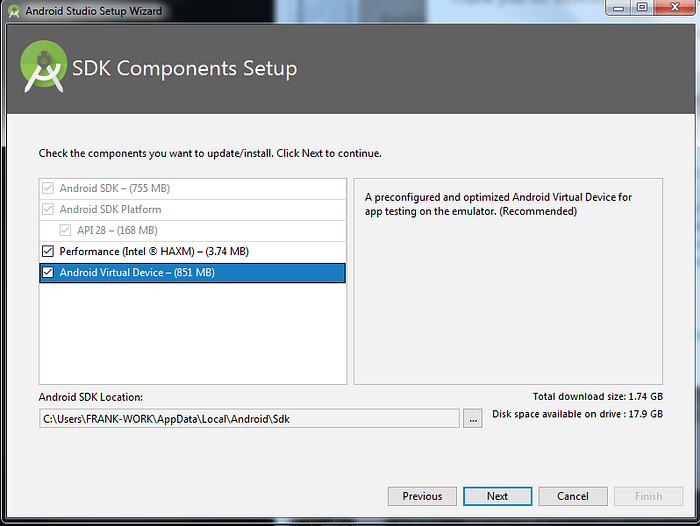
3. Check all boxes for:
Android SDKAndroid SDK Platform- —
API 28or greater Performance(Intel HAXM)Android Virtual Device
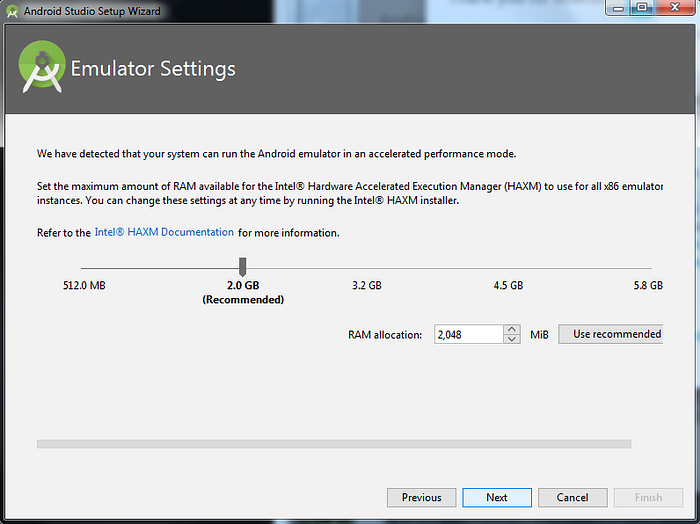
4. Use the recommended Emulator Settings (hit “Next).
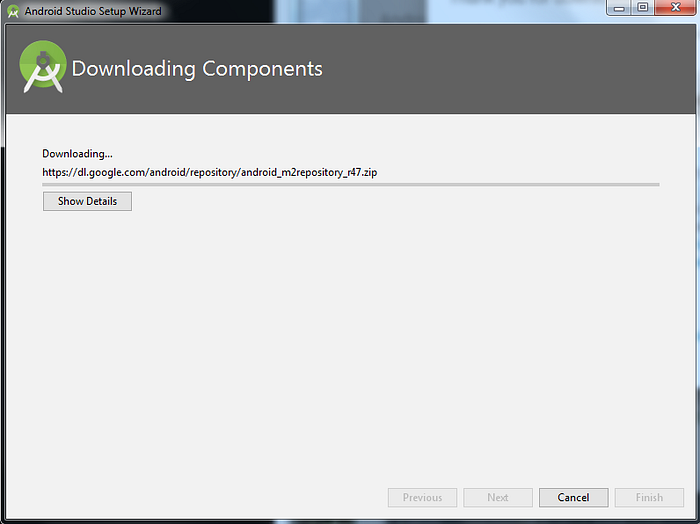
5. Hit “Finish” to download the Android Studio components.
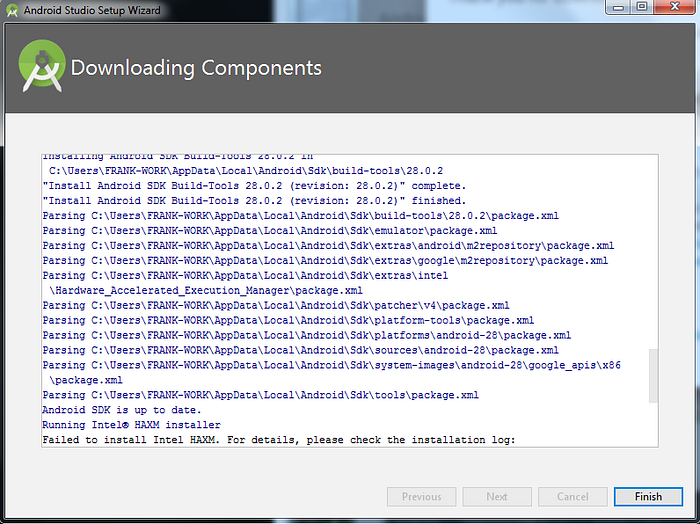
6. Wait for downloading.
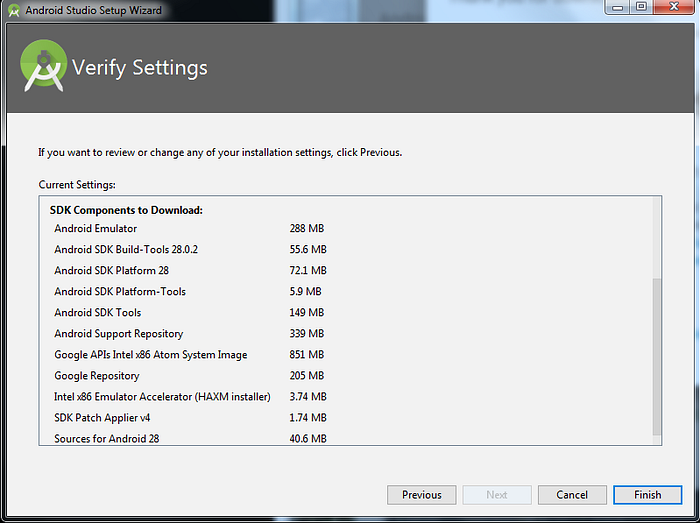
7. Hit “Finish” and verify settings.
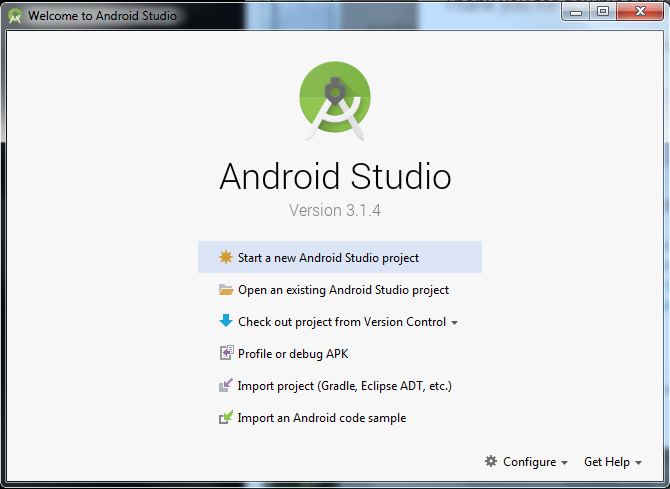
Start a new project in Android Studio:
- Select “Start a new Android Studio project.
2. Create and name your project (“My Application” is fine for now).

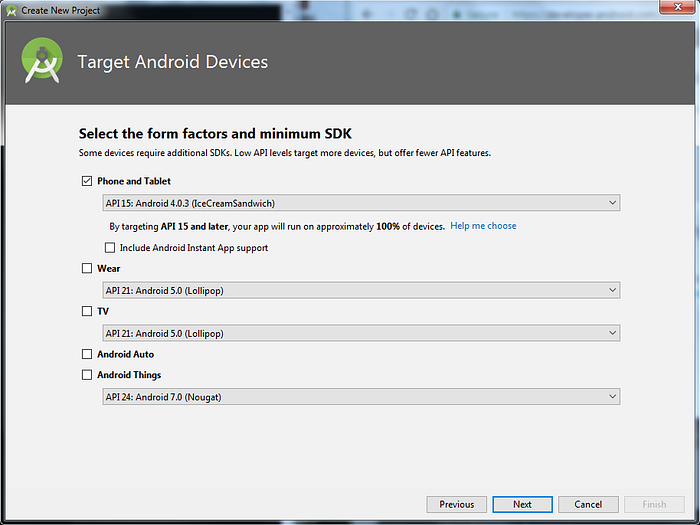
3. Select Target Devices (Phone & Tablet recommended)
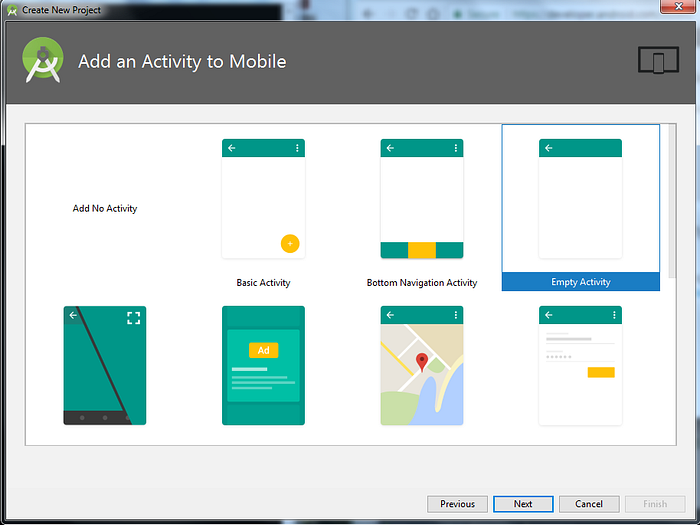
4. Begin with an Empty Activity
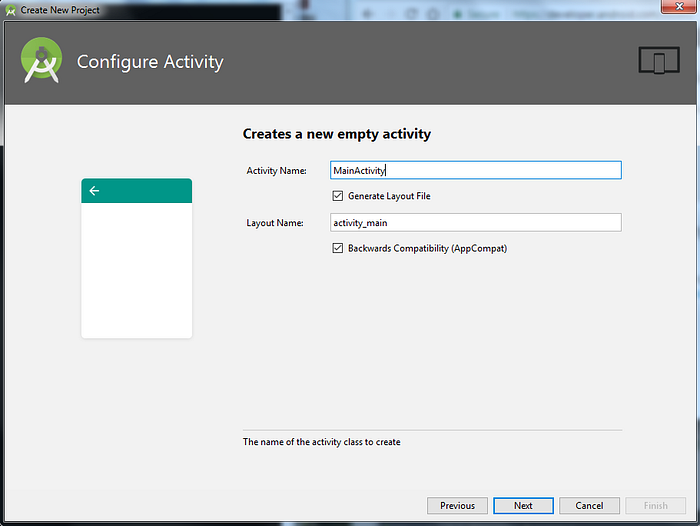
5. Configure the Activity (just hit “Next”)
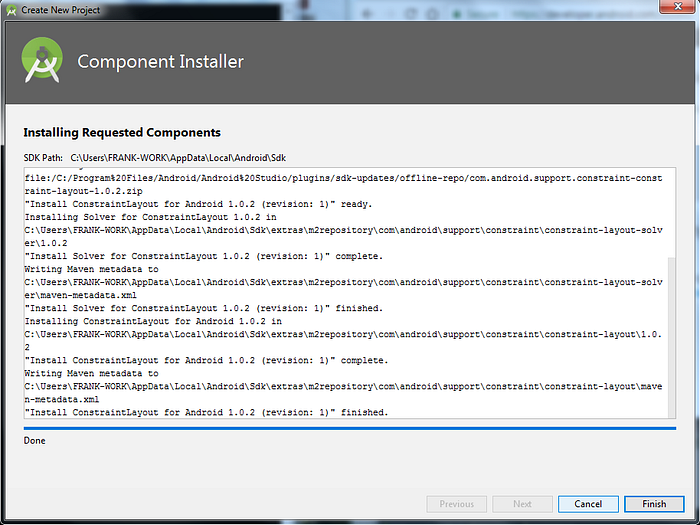
6. Install the components (hit “Finish”).
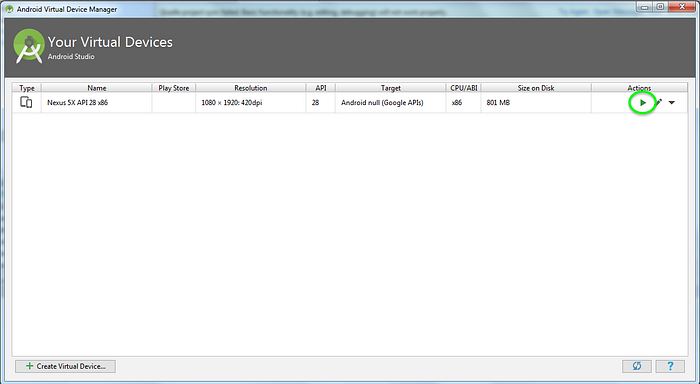
Launch an Android Virtual Device (AVD):
- Click on the AVD Manager icon
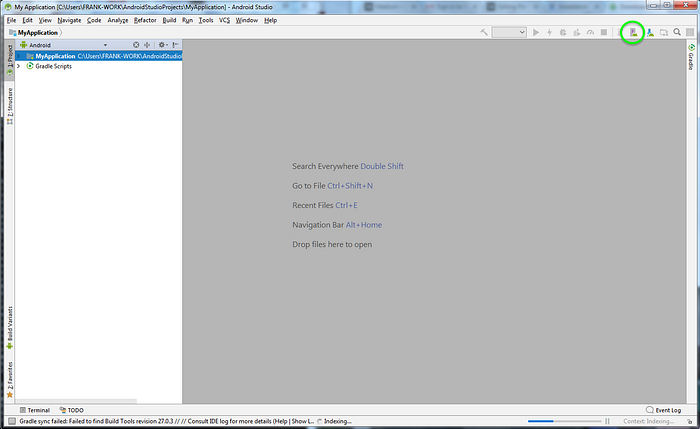
2. Click the ▶️ icon to launch the Nexus AVD
Create a React Native App:
react-native init YourProjectName
Run Your Project:
cd YourProjectName
react-native run-android
About Frank
Frank von Hoven III is a Software Engineer at Infinite Red, specializing in React Native mobile development, an instructor with Infinite Red Academy, and the Editor-in-Chief of The React Native Newsletter. He lives in New Orleans, LA.

About Frank
Frank von Hoven III is a Software Engineer at Infinite Red, specializing in React Native mobile development, an instructor with Infinite Red Academy, and the Editor-in-Chief of The React Native Newsletter. He lives in New Orleans, LA.